Sections
Configuring IBM CM8 Connector
eViewer server connector using IBM Java CM8 beans would search for “cmbicmsrvs.ini” and other supporting “.INI” files which are deployed with the IBM Content Manager 8 pClient/eClient or ICN installation.
Step 1: The path to the connectors folder needs to be pointed within eViewer server component deployment.

Step 2: The “Connectors” folder consists of multiple files for configuration settings of IBM CM8 with eViewer 7. IBM CM8 reads the file “cmbicmsrvs.ini” at runtime.

Step 3: Go to the eViewer 7 application server folder, and locate the property file named cmbcmenv.properties. Open the file in an editor application.

Step 4: The cmbcmenv.properties file contains the concrete path of the “connectors” folder for making the connection between the CM8 application with eViewer 7.

Step 5: Set the values in the application property file for making connection with IBM CM8 and save.

IBM Content Navigator
Deployment Steps
This guide provides the comprehensive information on how to manually deploy MST ICN Viewer Plugin in IBM Content Navigator. This guide is designed to assist you with the installation process and provide you the information on the procedure involved. Before installing, we recommend you to thoroughly read the guide.
This guide provides the comprehensive information on how to manually deploy MST ICN Viewer Plugin in IBM Content Navigator. This guide is designed to assist you with the installation process and provide you the information on the procedure involved. Before installing, we recommend you to thoroughly read the guide.
Perform the following steps to deploy the plugin:
1. Unzip the jar file.
2. The jar will contain the eViewer folder with eViewer7icn.jar file.
3. Copy and paste the eViewer folder in the installed folder of IBM WebSphere.
For example, …navigator.earnavigator.warplugins
Loading Plug-in
Perform the following steps to load the eViewer plug-in into IBM Content Navigator.
⦁ Log into IBM Content Navigator
⦁ Click Plug-ins from the left menu
⦁ Select New Plug-in.

⦁ Enter the path of the plug-in jar in the JAR file path and select “Load”.
i.e.: https://192.168.10.176:9080/navigator/plugins/eViewer7/bin/eViewer7icn.jar

⦁ Provide the required details.

Required details:
⦁ serverContext: The context root name of eViewer application deployed over the application server. If installed using Auto Installer, the default name is “MSTServer”.
⦁ viewerURL: URL to the eViewer 7. The format of the URL will be:
<protocol>://<IPaddress>:<port number>.
For ex: https://mstsp2010:156
⦁ viewerScriptURL: URL to the viewer.
⦁ For .NET, the URL must be in the format:
https://<ip_address>:<port_no>/eViewer/7/Viewer/Integration/App /Scripts.
⦁ For Java, provide the URL same as provided in the viewerURL.
⦁ cacheFolderPath: It must be eViewerCache for both .NET and Java installations.
⦁ serverSocket: It must be 9090.
⦁ overlayPath: Path where overlays are cached.
For example, C:Overlays.
⦁ userPreferencesasPath: It must be empty.
⦁ Click Save and Close.
⦁ The plug-in has been installed successfully.
⦁ Mapping the ICN plug-in
The following steps are to map the plug-in correctly between eViewer and IBM Content Navigator.
⦁ Select “Viewer Maps” from the left menu.
⦁ Select “New Viewer Map”.

⦁ Provide a unique name in the “Name” text box and select “New Mapping”

⦁ Select the correct Repository type and Viewer options:
⦁ Repository type: It must be Content Manager
⦁ Viewer: Plug-in that was created earlier

⦁ Select the desired MIME Types from the available list and select to move them to the selected list to be associated with eViewer and then select “OK”.

⦁ Click Save and Close and the newly created mapping will get listed in the list of existing viewer maps.

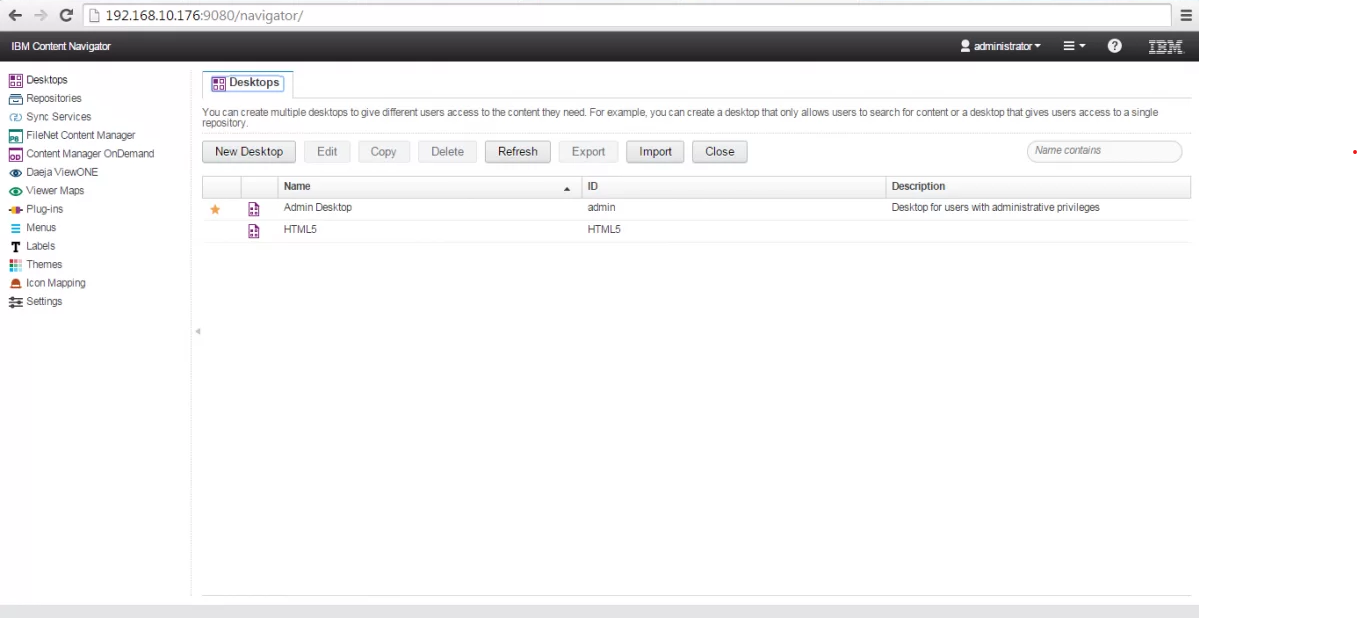
Creating Desktops
Perform the following steps to create the desktops:
⦁ Select “Desktops” from the left menu.

⦁ Select New Desktop.

⦁ On the General tab, enter in the following details:
⦁ Name of the new desktop.
⦁ Select the name of the repository from the Authentication Repository drop down list.
⦁ For Desktop Configuration, select the viewer map in the Viewer Map drop down list.

⦁ Click Save and Close.
⦁ The newly created desktop will get listed in the list of existing desktops. Note the ID of the newly created desktop for future references.
View Desktop
Open the browser and enter the URL in the below format:
<protocol_name>://<ipaddress:port_number/navigator/?desktop=ID_of_the_newly_created_ desktop
For example: https://192.168.10.176:9080/navigator/?desktop=eViewer.
where eViewer is the ID of the newly created desktop.

Select the document to open in eViewer.
Microsoft SharePoint Add-in Deployment
Following are the steps to configure add-in for using the Sharepoint application.
Register Add-in in Microsoft SharePoint Portal
Following are the steps to register eViewer 7 as an add-in with SharePoint. Access the link with the specific site collection URL to register an Add-in within SharePoint.
Syntax: <site collection url>/_layouts/15/AppRegNew.aspx
Example: https:// myspis.sharepoint.com/sites/imaging/_layouts/15/AppRegNew.aspx

The information needs to be provided by the admin for the registration process:
⦁ Client Id: 546eba60-7951-4f39-915a-c9673668d2b2
⦁ Client Secret Key: pz/xyCUY/O8EywiH0o+Kwz0e4cMXiK4ZTxb7hE03SJc=
⦁ Title: eViewer7SPAddInWeb
⦁ App Domain:
⦁ Syntax: .azurewebsites.net
⦁ Example: eviewerspaddinweb.azurewebsites.net
⦁ Redirect URL:
⦁ Syntax: https://.azurewebsites.net/Pages/eViewer.aspx
⦁ Example: https://eviewerspaddinweb.azurewebsites.net/Pages/eViewer.aspx
⦁ Click “Create” to complete the add-in process.
Microsoft SharePoint Provider Hosted Add-in
Following are the steps to install add-in for using SharePoint application.
⦁ Login into the Microsoft Office 365 portal using valid credentials.

⦁ Navigate to SharePoint’s dashboard and open the App Launcher.

⦁ Select the “Admin” option.

⦁ The “Microsoft 365 admin center’ will open in another tab of the browser. Select the “SharePoint” option under the “Admin centers” section.

⦁ The “SharePoint admin center” will open in another tab, go to the “More features” option and select the “Apps” option by clicking on “Open”.

⦁ Click on “App Catalog”.

⦁ Go to “Apps for SharePoint” and then click on “Upload”.

⦁ Select “eViewerSPAddIn.app” from the app folder and select “OK” to publish it.


⦁ Now go to the SharePoint dashboard again. It can have multiple sites.

⦁ Open the desired site and select “Site contents” from the menu list. Then click on “New” and choose “App” for adding it.

⦁ Go to “From Your Organization” and select the “eViewer7SPAddIn.app” and select “Install”.

View Documents in SharePoint
Open SharePoint portal, go to the document library and select the required document, select “Launch Document with eViewer 7” from the document menu options to view a file with eViewer.
